Working With Primary and Secondary Rates
Description: MS Project Resources already has the capability to assign rates. However, they are wrap rates and you can't compare one set of rates to another. Wrap rates work just fine but if you want to know what makes up the final rate, you can't. More importantly, rates change frequently and it's tough to compare cost if you can't load an alternate rate set. For example, last time you took status you used 2018 rates but this month Finance has published new rates for 2019. In Project, you would update the rates and the remaining cost would change depending on the new rates. If you wanted to know the impact of this rate change you would have to export the last month at the old rates then change the rates, export, and somehow compare the two. In fact, I doubt many people do this kind of analysis because of the difficulty of it. With the ItMakesSense Project Add-in you can load the new rates using Load Primary Rates and load the old rates using Load Secondary Rates. Now, when you export your status files the task owner can see the total cost impact before they submit their changes. This saves time because nearly all projects are under cost constraints and task owners typically don't know they've entered too much cost until all inputs have been imported to the management tool. This is usually extremely late in the monthly process. ItMakesSense reduces the amount of rework time because you can get information faster.
Back to wrap rates, all companies have overhead. There are several types of indirect costs including Fringe Benefits, Labor Overhead, General and Administration Cost, and Facilities Capital Cost of Money. Most planners don't get this deep into finance, but the task owners can find it helpful to know why their cost has increased. In fact, it's required to know this as part of variance analysis for IPMR reports. Note: it is not a requirement to load all of these cost. You can load the wrap rates just like MS Project and still get the benefit of cost comparisons.
Step 1: Create a Rate File
There are a few options to create a rate file. You can create a rate file using Cobra data (requires the Excel Add-in), or use MS Project rates. You
can also create one manually. If you want to create one manually take a look at the Cobra option below to see how the file works and download the following
Rate File. This can be manipulated to your needs.
- Column A - Rate File Description
- Column B - Rate Name
- Column C - Rate Effective Date
- Column D - Wrap Rate
- Columns E-S - These are up to 15 Buildups. If you don't want to use buildups copy the Wrap Rate into Column E and name it what you want to see in the reports in Cell E1.
- Columns T-X - 5 codes can be applied. You can a code to list your EV Tool resource if it doesn't match MS Projects resource.
Option 1: Create a Rate File Using Cobra (Turns 3 Dimensions [Rates|Calculations|Time] into 2 [Rate And Calculations|Time])
- Export Calculations In Cobra, run the standard report "Export Calculations" and choose the Calculation file that will be used. There are no additional steps to this process. You should be able to click Next to each screen of the report and click Finish. Save this file. Note: This report shows how total cost is built.
- Export Rates In Cobra, run the report "Export Rates" and choose the Rate file that will be used. There are no additional steps to this process. You should be able to click Next to each screen of the report and click Finish. Save this file. Note: This report contains the rate value and dates the rate will be effective.
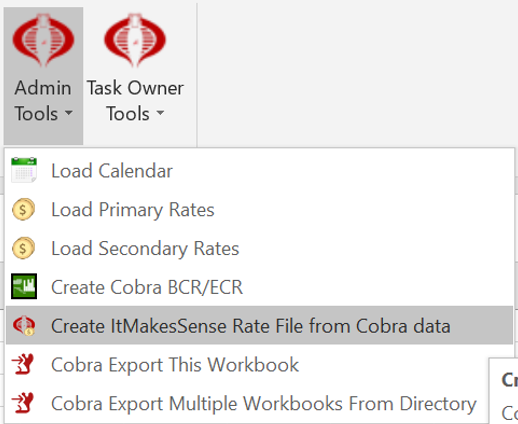
- Run Create ItMakesSense Rate File from Cobra Data In Excel, go to the ItMakesSense menu, select Admin Tools, select Create ItMakesSense Rate File from Cobra Data. This will ask you to select the Calculation file from above then ask you to select the Rate file from above. Once these two files are loaded, a new Excel Workbook will be created that can be loaded into the ItMakesSense tool.
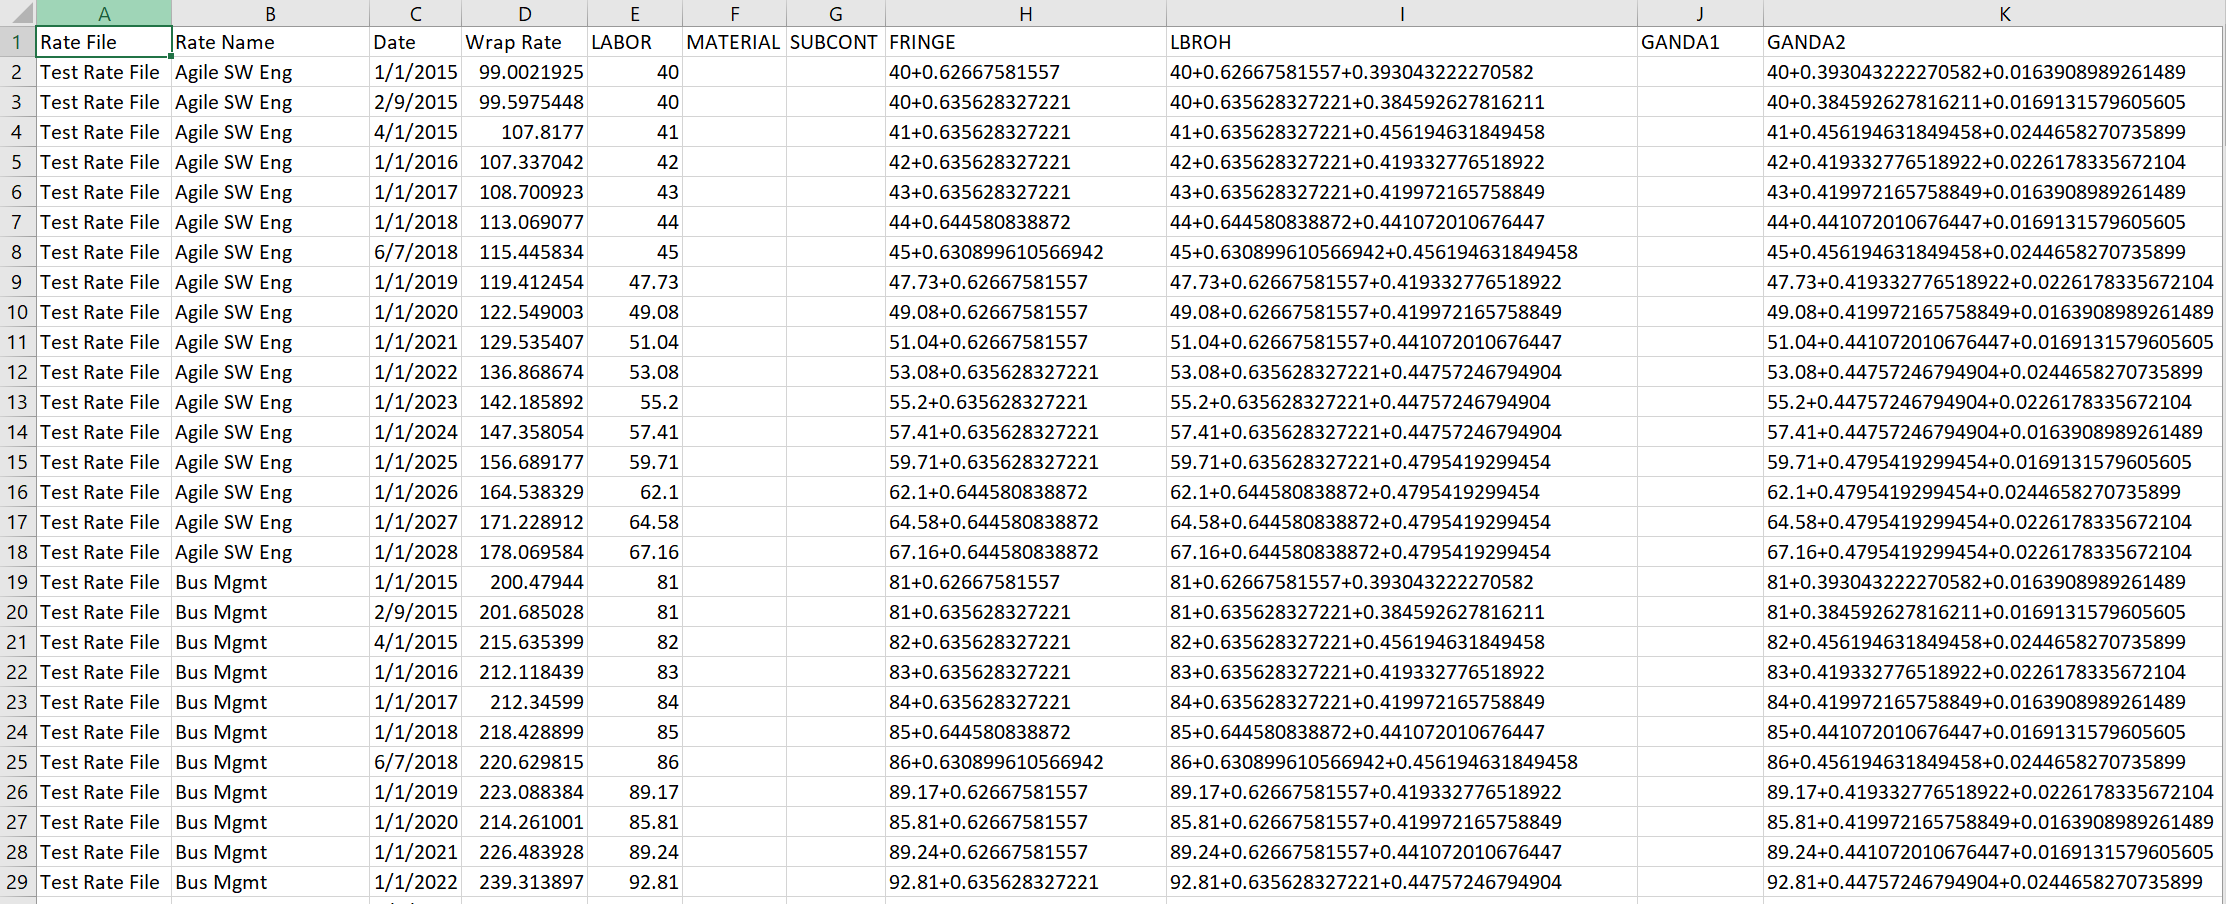
The file will look like the image below. Notice Column D is the wrap rate from all of the "buildups" to the right. Column E2 has a Direct Labor Rate of 40 dollars. Column H2 has the 40 dollar rate and adds 63% for Fringe. One hour would be 40 dollars plus 25.06. Column I2 adds the 40 + 26 then multiplies the result by 39%. The value after the last "+" represents the rate to be applied. The values before the rate (before the last "+") calculate the value that the rate will be applied to. This continues for each column. In this way there will be one file with the rates and buildups vs. Cobra's method of needing two reports to come up with the values. Note: Only Lines in the Calculation file with the Currency flag set to True will be exported into a column. This is because the Currency flag represents the values that go into reports. If Non-Currency results were included the wrap rate and total cost would be manipulated by the non-currency results. This is one of the reasons there are 3 reports for Resources in Cobra. (Export Calculations, Export Rates, Export Resources)
Option 2: Create a Rate File Using MS Project data
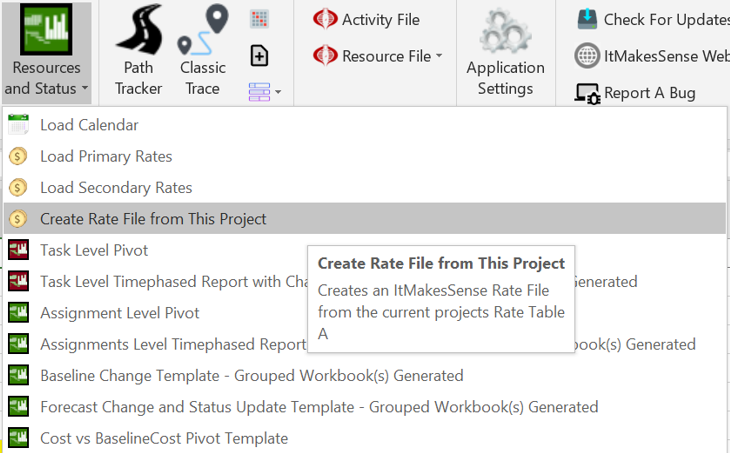
In MS Project, go to the ItMakesSense menu, select Resources and Status, select Create Rate File from This Project.
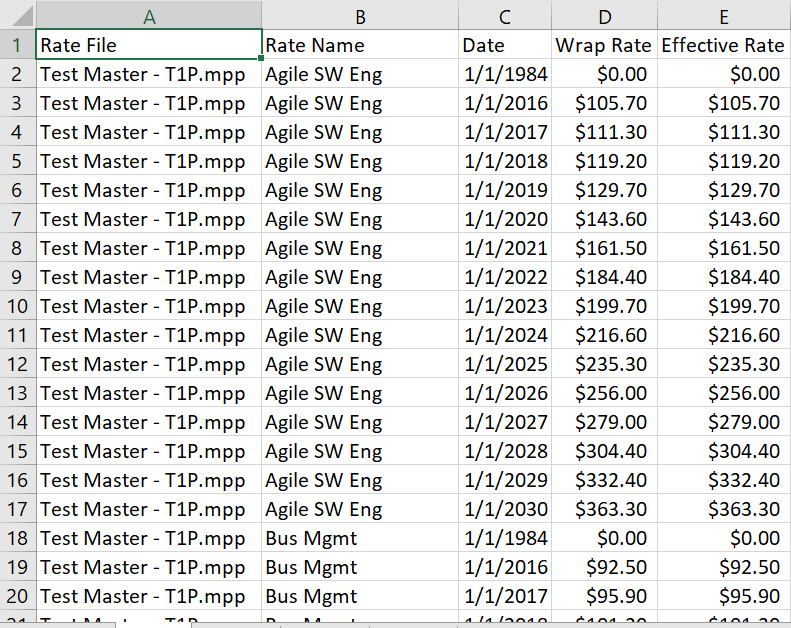
The file will look like the image below. Note: If this is ran in a Project that has Subprojects (aka: Master Project) it will export all of the
Subprojects data. You might have to delete some items or they could be duplicated if they share the same resource name. Notice in Column D and E
there's a Wrap Rate and an Effective Rate, these are the same rate but serves a purpose when you're not using Wrap Rates.
Step 2: Load Primary Rates
Once the Rate File is created it's very quick and easy to update Primary Rates. Primary rates are used as the default calculation.
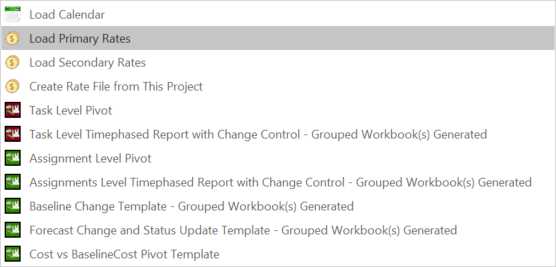
In MS Project, go to the ItMakesSense menu, select Resources and Status, select Load Primary Rates.
You will be prompted to load the file you created in Step 1.
Step 3: Load Secondary Rates
Secondary rates are used as the comparison (Last) rate set.
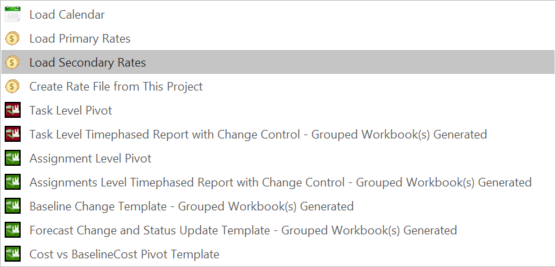
In MS Project, go to the ItMakesSense menu, select Resources and Status, select Load Secondary Rates.
You will be prompted to load the file you created in Step 1.
Suggestion: Export Settings and Load Settings
There is no limit to the number of Settings files you can create. The file size is relatively small and they are very helpful if your work packages utilize different rate sets. For example, let's say you baseline a 5 year program but you only "firm" plan up to your first major milestone (Preliminary Design Complete Planned Finish: 12/31/2019). All of the tasks up to this milestone are planned using 2019 rates. Come October you're going to convert some planning packages to work packages to your next milestone, (Critical Design Review Planned Finish: 12/31/2020). In this scenario you're going to use the most current rates to "firm" plan up to Critical Design Review. Therefore, many of your tasks are baselined at two different rate sets. Switching back and forth would require you load different Primary and Secondary rates depending on which tasks you were working with. If you Export Settings you could avoid remembering what two rate files to load and simply load one settings file.
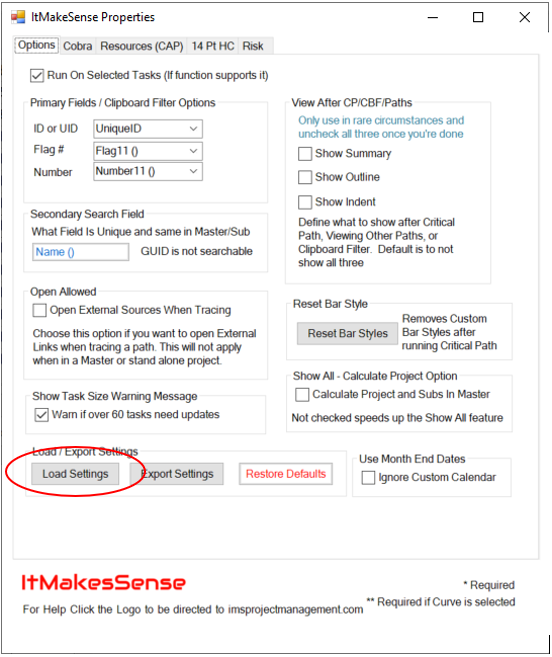
In MS Project, go to the ItMakesSense menu, select Application Settings, select Export Settings. Save the file this creates as
2019 Rate Settings.

In MS Project, go to the ItMakesSense menu, select Application Settings, select Load Settings. Select the file from above.