Create Status/Forecast Workbooks Using MS Project Resource Assignments
Prerequisites:
Description: There are several ways to export data using the resources and status button.
In this tutorial I will be going over one possible way. For many companies this will be the way they want
to export remaining work and status sheets. That is why there is a Template dedicated to this method. The
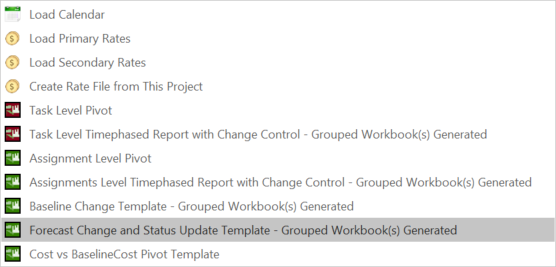
image below shows you the button I'm referring to.
For others, you can accomplish the same thing by configuring Application Settings to suit your needs. After
you have configured your settings you can use the button below to run your configuration.
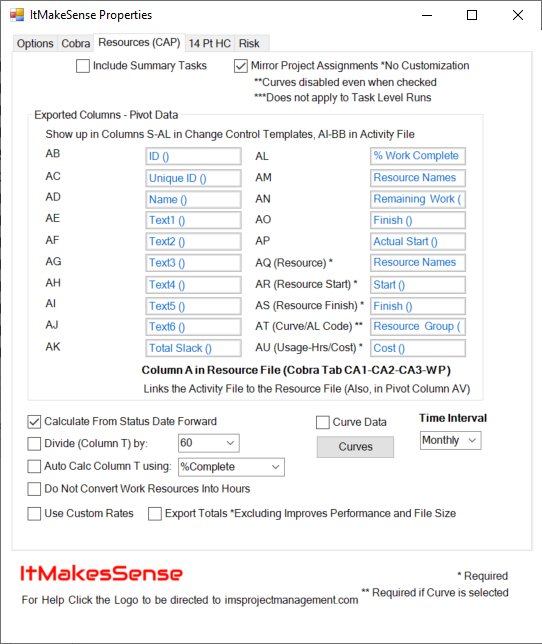
For the Forecast Template the following settings are applied.
- Mirror Project Assignments is true
- Column AQ (Resource) * is set to Resource Names
- Column AR (Resource Start) * is set to Start
- Column AS (Resource Finish) * is set to Finish
- Column AU (Usage-Hrs/Cost) * is set to Cost
- Calculate From Status Date Forward is true
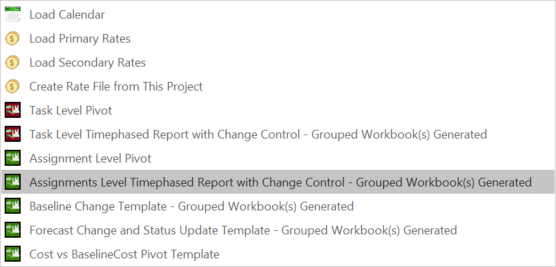
All other fields will export whatever you've defined in that field. Here is a look at what the Application Settings - Resources(CAP) tab would look like if you manually did this. Keep in mind that no matter what you have in the fields discussed above the tool will apply the 5 settings above. Use the Assignments Level Time-phased Report with Change Control if you want to export exactly what's in Application Settings. The Forecast Template is intended to be a shortcut for most implementations to avoid flipping back and forth between Baseline and Forecast in Application Settings.
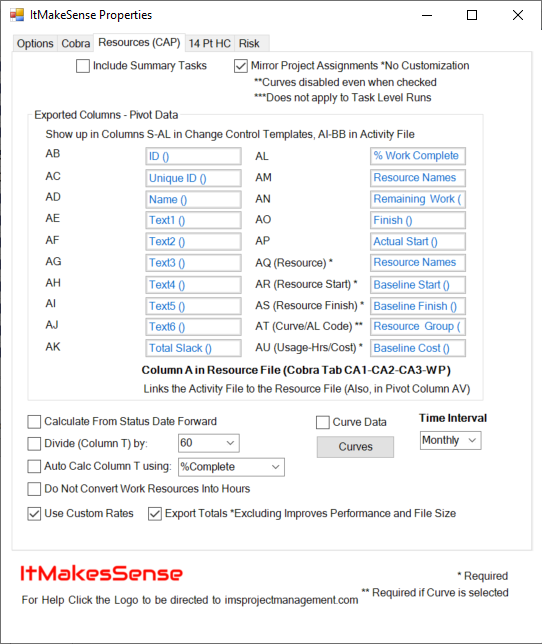
I'm going to change these settings for this demonstration slightly. I changed Column AR to Baseline Start, AS to Baseline Finish, AU to Baseline Cost and unchecked Calculate From Status Date Forward. I did this to demonstrate that the report will send in the Template Values and not the values I just set.
Also, I checked Use Custom Rates and
Export Totals. Use Custom Rates will use the rates currently loaded from Load Primary Rates and Load Secondary Rates.
For more information on Custom Rates see Create Primary and Secondary Rate Files.
Export Totals will add formulas to the bottom of each workbook that allow you to see Total Cost, Total Hours, or Total
Full Time Equivalents. Use this with caution because MS Excel formulas increase calculation time and increase the file
size significantly. Two things create an abundant amount of formulas, several periods and several resources. I would avoid
using this feature if you have more than 50 resources on the program or you're exporting Daily data. Also,
a combination of the two can cause slow calculation times. For example, you export Weekly data for a 10 year project that
has 50 resources. There will be 520 columns for periods (10 years times 52 weeks) and 100 rows for resources (50 for Total
and 50 for Changes). That creates 52,000 cells with formulas that Excel will attempt to calculate every time a change is made.
Most of the time you will find this is not an issue but I want to make you aware of what changes you can make to reduce
calculation times. Remember, cost, hour and FTE information can be calculated without this feature if your end user
has the Excel Add-in.
Now we're ready to run the Forecast Change and Status Update Template Report. Before you click the button you should
determine whether you want to run all tasks or only selected tasks. For this demonstration I'm going to choose only
selected tasks. You can toggle this option in the Quick Settings section of the ribbon menu.

Notice that I've filtered on WP1 in Text4 then selected IDs 91-94.

Under Resource and Status Click Forecast Change and Status Update Template - Grouped Workbooks(s) Generated. You will
get a message stating that you've selected Only Selected Tasks. If this was unchecked you get a different message asking
if you are sure you want to run on all tasks with the option to select cancel. It's easy to forget that you left this box
unchecked if you didn't intend to run for all tasks.
You will then be prompted to select a field that will generate a workbook for each distinct item/group. For example, if
you chose a text field that was Task Owner a workbook will be created for each Task Owner. You can choose any field
from the Cobra tab or the Resources (CAP) tab in Application Settings. These fields are chosen because
they all get exported as part of the process. You can group by WBS, OBS, Work Package, Planning Package, etc. and a workbook will be
created for each distinct value in your chosen field. In this case, I'm going to chose Text 2 which is the OBS. I don't
have OBS as the custom field name in this example so that's why you don't see Text2 (OBS). Furthermore, you
can also sort the data. I'm going to chose the default sort. Sorting is disabled once the workbook is created because
special formulas are created to keep task information accurate for each applicable resource. Allowing sorting after this would
invalidate these formulas if a task has multiple resources.
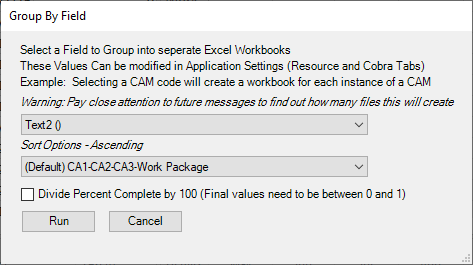
Percent Complete is a very important field for status purposes. Please make sure
that you've chosen a valid field for Percent Complete in Application Settings Cobra tab Column P (EV % Complete)*.
If this field is not a percentage (e.g. you load 50 to represent 50% vs. .5) select Divide Percent Complete by 100
in the image above. An image of the Cobra Tab where you define Percent Complete is below. If a value for Percent Complete
cannot be converted to a value between 0 and 1, 0 percent complete will be exported.

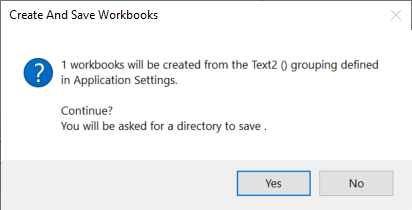
After each task and resource assignments are analyzed you will receive a prompt asking if you want to continue and display
the number of workbooks that will be created by the process. This is the number of distinct values the tool found in the
field you selected earlier. This prompt is useful in case you accidentally select a field that you didn't mean to that would
create more workbooks than you intended. Pay close attention to this number and select Yes if you're happy with the result.
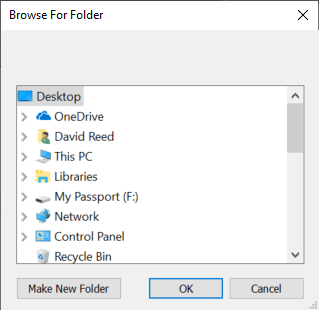
Next, you will be asked to select a location to save the workbooks. Select one and click OK.
As the process goes through and creates each workbook you can see the status in the bottom right hand corner. I have noticed
that if you run a function with multiple monitors and MS Project was not activated before you clicked an operation the status bar
does not update. Before I run a large process like this I always make sure I select the tasks again to ensure I get the status
updates.
(As of version 1.0.7.0001 this has been changed to a Progress Bar and the Status Bar has been removed)

You will get a message notifying you that the process was completed. None of the workbooks are opened, they are just saved to the directory you chose.